
If you want your business to succeed online, then building an email list is one of the top ways to generate new leads and sales with your potential clients. There are of course many different ways to build your list but today I am going to be showing you how to do list building with a blog.
In this training article, I am going to walk through 5 simple ways to build your list faster than ever.
Before I get started if you are wondering what list building is or how to set up a blog then let’s just quickly cover both of these vital elements.
No Blog!
If you haven’t yet built your blog, don’t panic, just bookmark this article (after you have read it of course) LOL and then read my blog about building your website from scratch. Follow the simple steps and your site will up and live before you know it.
What Is List Building
When referring to list building I am talking about an email list. You have probably seen email sign up forms before on websites and even added your details to receive an incentive from the company.
Well, that’s exactly what I am going to show you how to do.
As well as create your optin forms and showing you 5 different places to can use them directly on your blog.
One of the tools you will require is a reliable email service provider. This is where you will be collecting the data from the people on your list. Then sending them automated and broadcast email campaigns. Once this is all set up you can then sit back and just watch your emails go out on autopilot.
The software that I use you this is called AWeber and it’s super easy to use. Although there are many other companies that can do the same thing. If you already have an email service provider then that’s cool, you should be able to use it for what I am about to show you.
What incentive can you offer?
The easiest way to start your list is by offering a simple weekly or monthly newsletter. You can then add other freebies such as cheat sheets, worksheets, e-books, video courses, coupons, discount vouchers, any way you get the idea.
Places To Have An Optin Form On Your Blog
Let’s now run through the five different places you can add optin forms on your blog for maximum effect. I will be explaining how these benefit you and your reader. Note:- These will perform differently from desktop and mobile so bear that in mind when activating on both.
Always do a test to see how they perform before deciding what ones to use and where.
The Ribbon
- The ribbon is a very subtle optin form that sits on the top of your blog page, you can have it set to appear straight away or after a delay. There are various ways to can use the area, everyone needs to have a text call to action and then either an optin form or just a button. The button can open up an optin form or direct them to another page on your site.

The Slide-In
- The slide in does exactly what it says on the tin, it slides in from the side at a pre-arranged time, this could vary from on page load when the reader finishes reading and even after a specific time has elapsed. Again this box is very subtle and shouldn’t affect your users’ experience. There are various designs for this. An attention-grabbing headline is always favorable and then a call to action. The choice is then an optin form or a button test and sees which works best.
Exit Pop Up
- Probably the most commonly used as it is very obvious to the reader. This optin box only activates when the visitor takes action to leave the site. Bold eye-catching text is needed on this one so to make sure the reader has the full impact. A good call to action is paramount as you only have a few seconds to get the person to take action before they are gone, maybe forever!
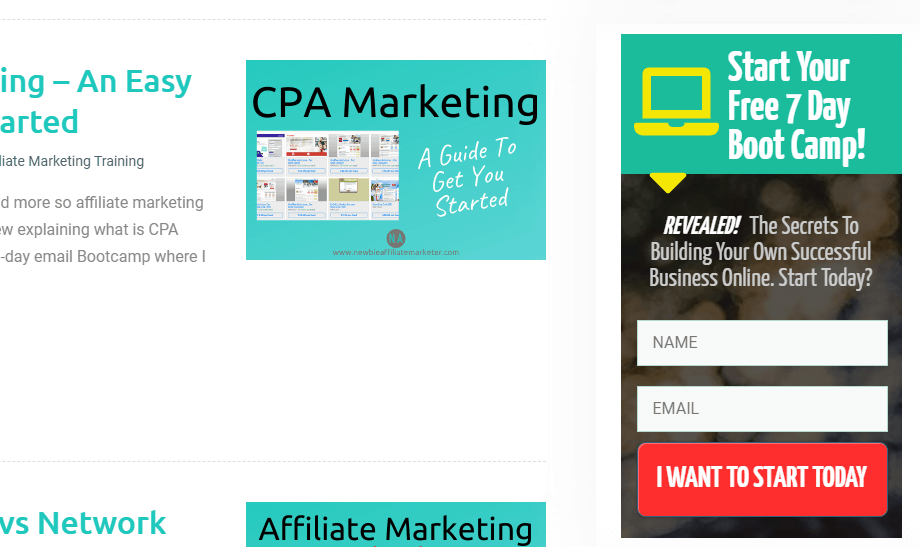
Sidebar Sign Up Form
- Using this form will solely depend on whether you are using a sidebar on your blog posts and blog roll. By not using this you could be losing out on valuable sign-ups to your email list. By being visible on your sidebar it is easily seen, this works really well if you have readers coming back regularly to view your posts. If you are adamant that you don’t want a sidebar then you will definitely need our final one then.
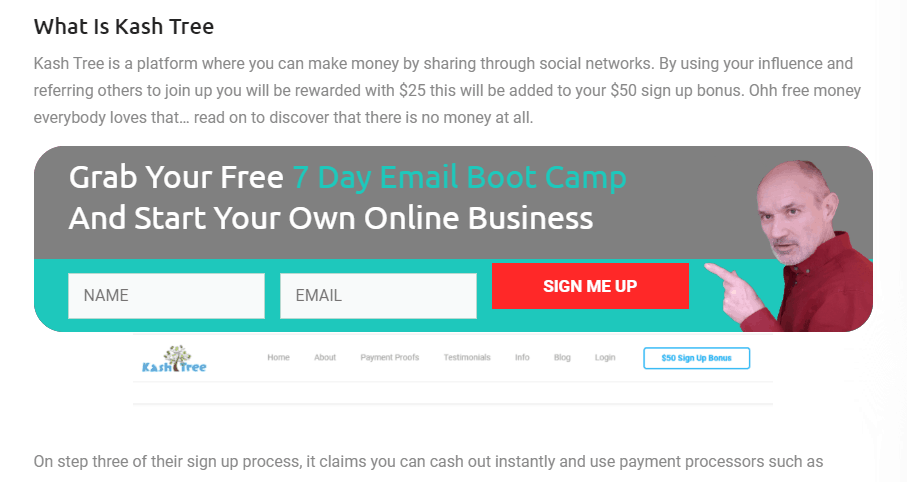
In Content
- The final one I am going to show you is an optin box that is situated within your content. This works well as it acts as a pattern interrupt for your reader, the best place to have this is halfway down your content, you can also add again at the end of your content too. Don’t make the mistake of having this at the top of your blog post, it tends to have a negative effect as people hate being jumped on as soon as they visit your site.
How To Build Your Optin Boxes
If you are using WordPress then this will be simple for you to apply all these to your blog.
Everything you need is here within one plugin called Thrive Leads it’s a premium plugin from the people at Thrive Themes you can purchase as part of their membership, which includes, many different plugins and premium themes, or as a single purchase.
Let’s show you inside the plugin dashboard so you can see how it works.
Once you have purchased the plugin, uploaded it and activated it, you will then have a tab for it on your WordPress dashboard. Click this to open up your Thrive leads dashboard
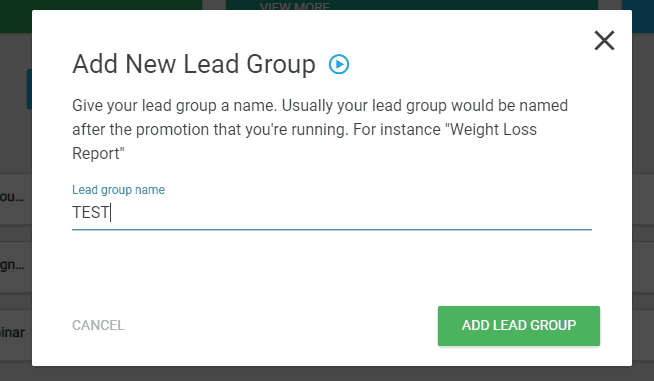
Add A Lead Group
The first thing you need to do is create a lead group, this will be the name of your offer, such as ebook, newsletter and so on.
Choose Display Settings
Before you select and type of optin form you will need to choose where you would like this group to be shown. This is s great feature is you can have multiple groups that could show to different categories. You can also choose individual pages or posts.
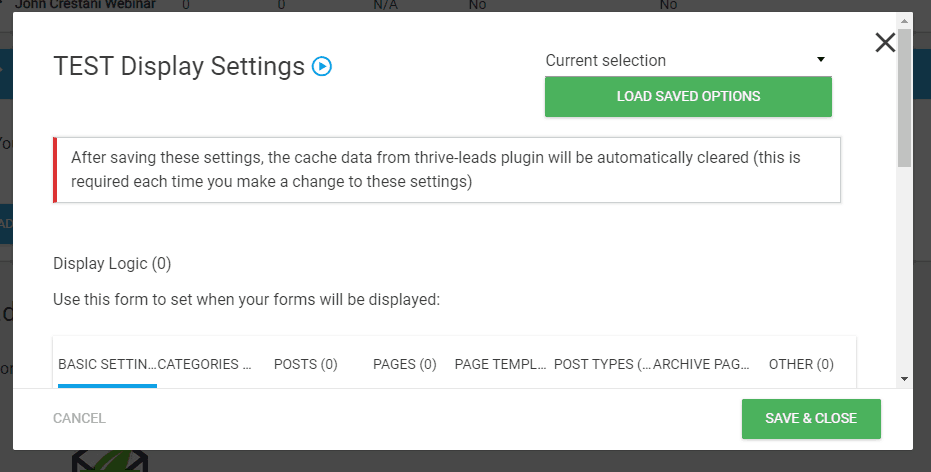
- For example, if you had a cheat sheet about SEO best practices you could have this showing only on the SEO category, and an ebook about email marketing could be offered on all the posts in the email marketing category.
See its powerful stuff…
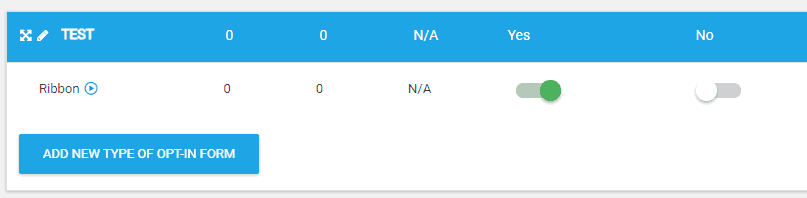
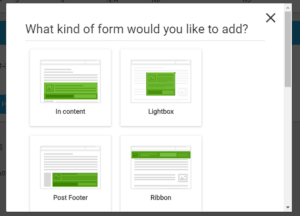 Add Type of Optin Form
Now to choose which optin style you want to use there are many different styles including the 5 I when through earlier in this article. For the purpose of this test, I will choose the Ribbon style.
You can, of course, have more than one style active on a lead group, just repeat the last action to load all the forms you will require.
You can also different styles and test against each other and Thrive will display the winning type automatically after the test is complete.
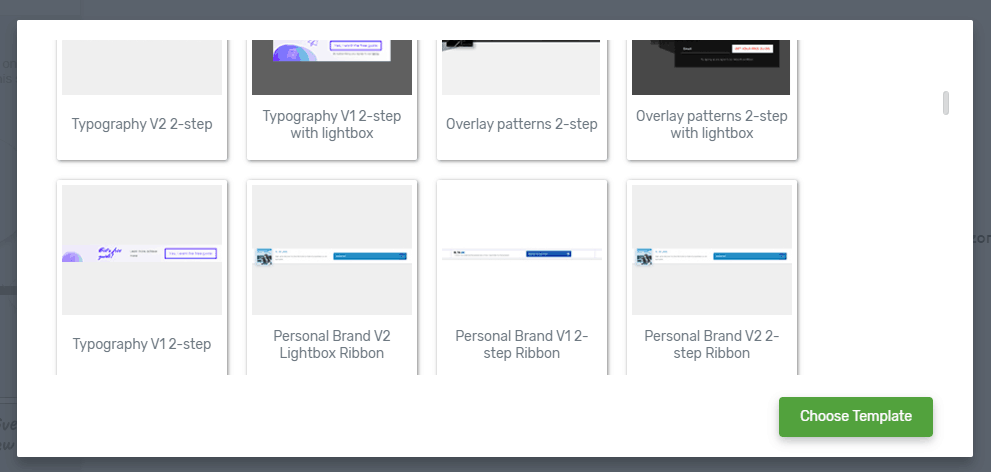
Create Your Design
Don’t panic if you are not creative as Thrive has many pre-loaded design templates all you have to do is choose which one to use and then edit the elements to suit your offer, it’s super simple.
Just click on the green icon of the type you wish to design and then click create form and give it a name.
You then have options to change the trigger feature, this is determining what will trigger the form to become visible. You can also adjust the display frequency and the position it’s displayed.
Edit Design
Now click the blue icon to edit your design. Choose a pre-designed template or create your own by selecting the blank template. Note- this will open a new tab.
You can now edit the text, font, color, and images to suit your brand and offer. When you are happy click save work. If you are adding an optin form then you will need to add the code from your email service provider.

You’re nearly there…
All you have to do now is activate your optin form from your dashboard, select desktop, mobile or both.
Yeah, you are now up and running
Learn more about Thrive Leads here
Wrapping Up
If you have any questions regarding this article, AWeber, Thrive Leads and Lead Generation then feel free to leave a comment below and I will endeavor to help you out.
There is nothing really you can break with this system so get stuck in, you can always come back and edit further down the line. As your blog and email list grow you will no doubt change things, which is exactly what you should be doing.
Enjoy building, what will probably become your most valuable asset as your business grows and remember I am here to help. 🙂
Disclosure:- Affiliate links may be used within this post. This means that if you purchase through my site after clicking a link when I get a small commission, at NO extra charge to yourself. This helps me to continue giving great free content. Thanks

Building an email list is definitely a strong toll to use for building a successful online business. As such I am glad to come across your post here. AWeber is a great reference as I have only heard about a little bit but had it on the back burner. Now I am reminded and can check it out further through your link here. Great advice on optin forms and I think the ribbon is a good spot for it. I’ll definitely bookmark this for when it’s time to build optin forms as well. Thanks for the excellent advice!
Thanks for your comments. I am an AWeber certified expert so if you need any further help just shout or message me.
Wow! This is informative, building up my own has been my problem as I find it hard to send a broadcast email, I never knew before now that creating an email list is the solution. I’d already booked mark this site for further reference. Thanks for sharing this informations. I love it!
Glad you have found it useful. Any questions just shout